Inkscape is a natural tool for designing embroidery patterns; the only challenge is converting the Inkscape design to a stitch file. Here's a rough cut as such a tool that got me through my first project; it may work for you, or maybe you can fix a bug or two and make it more robust for your application.
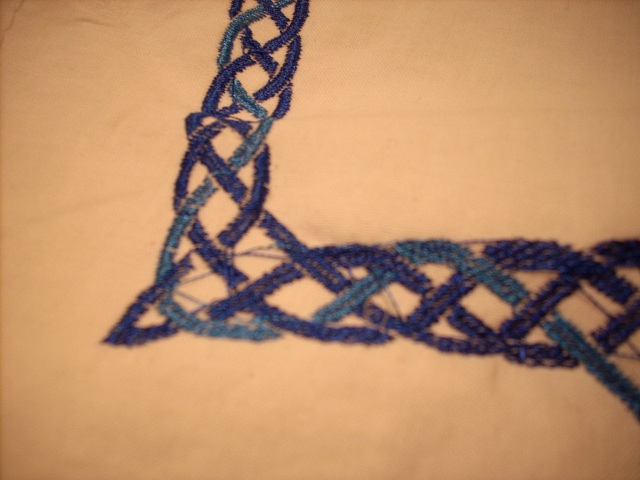
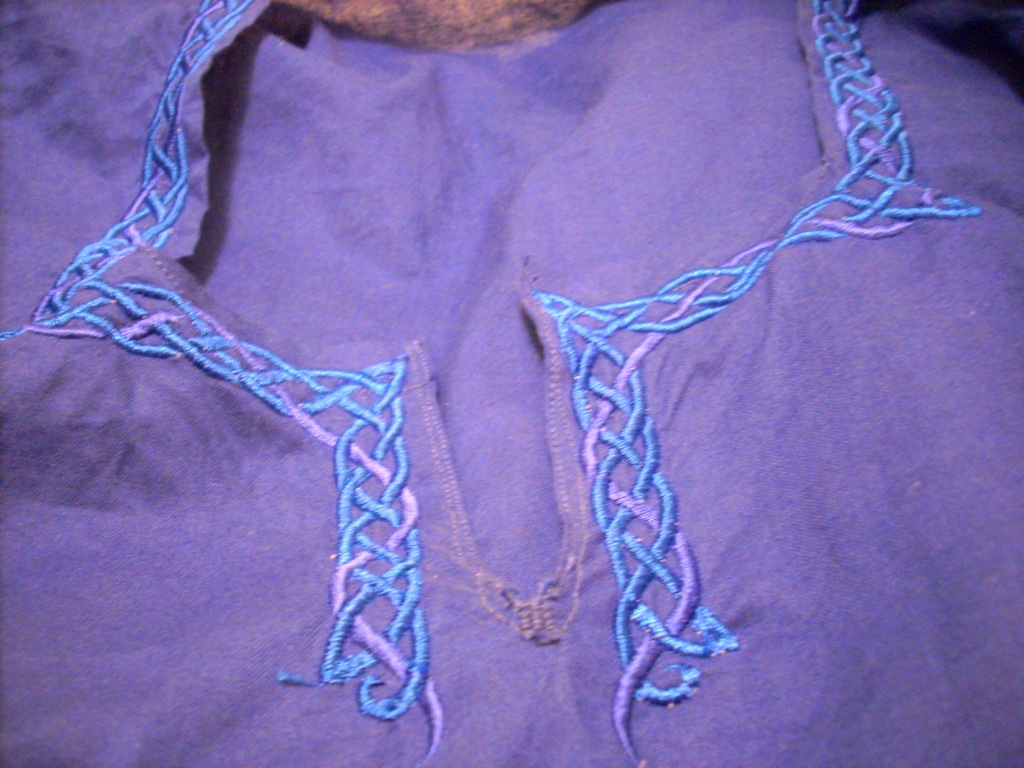
The most difficult part was carefully lining up the sequential panels to make the design appear continuous. One tip: baste the working piece down to a big piece of stabilizer, so that they stay together as the hoop is repositioned.
apt-get install python-shapely
If it works (and it very well might!), you'll get a new grouped object showing the proposed stitching path. It may be easy to miss, since the new strokes appear in the same color as the underlying fill. (If you forgot the "ungroup" step, it may also appear at a random place on your canvas; see BUGS below.)
As a side effect, Embroider also creates a file in Inkscape's current directory called embroider-output.exp. If you like the stitch pattern you see, then open that output file in a converter program and save it to the appropriate format for your machine. (I use Wilcom's TrueSizer, available as free-as-in-beerware, inside WINE to convert my output to Brother .PES format.)
Each path generates a "patch" of stitching. We sort all the patches by color, to minimize thread changes. Then we use a Traveling Salesman Problem implementation (a cheesy, greedy one, plus a little hill-climbing at the end) to sort the patches to minimize the length of the jump stitches (the unintended stitches between patches).
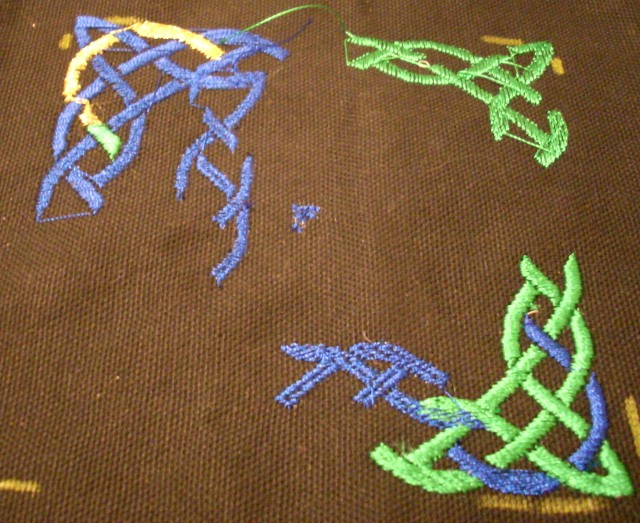
You can use strokes to do applique embroidery. Draw a (not-too-complicated) closed curve. Generate it both as a 0.5pt line and again with a wider stroke width, like 3mm. Stack two fabrics in the hoop, and embroider the thin path. Remove the hoop from the machine (but leave the fabrics in the hoop). Carefully trim away the top fabric at the stitched boundary. Then replace the hoop and embroider the wide path. The wider path will cover the first stitch line and secure the applique'd piece.
Tips on strokes: use Extensions -> Modify Path -> Flatten Beziers to change curves down to linear approximations. (The Embroider extension's supposed to do this, but it's not so good at it.)
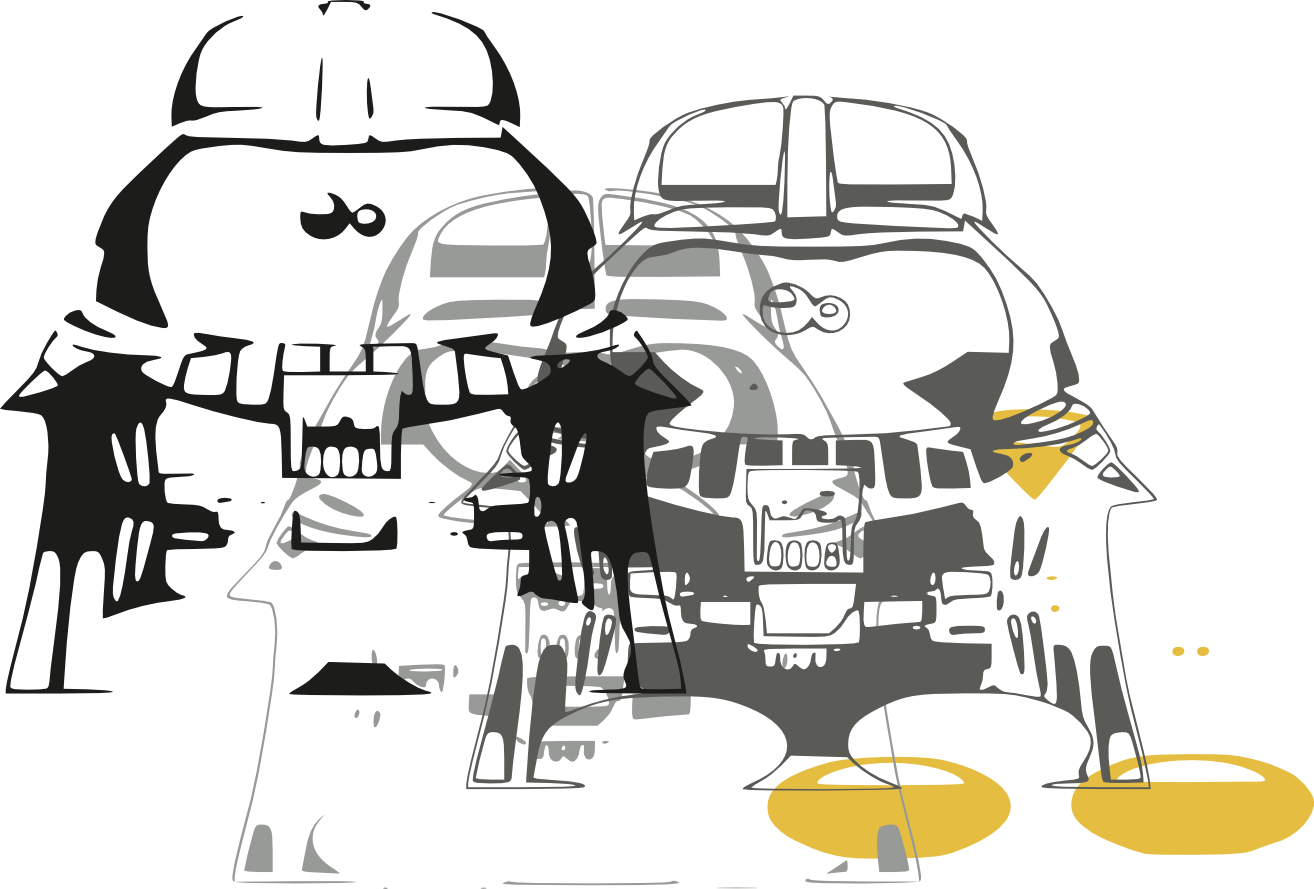
More tips on using Inkscape to get from a raster example to an embroidery file.
TODO: when a single patch is split into multiple sections (because of concavities), two problems occur:
First, the sections are treated as one big patch with an implicit jump. It would be better to make them separate patches so that TSP can do a better job planning to minimize jumps.
Second, the algorithm "assumes" that all the stitches in the left "column" are part of the same patch, so it will also incur horizontal implied jump stitches because it doesn't realize that the rows are from disjoint parts of the underlying region. A smarter algorithm would break each time the number-of-segments changes, and start a new patch each time, again relying on TSP to put them back together in a sane order.
TODO: when a row is longer than the max stitch length, use a global-phase ("tajima") stitch, rather than phase relative to where the row starts, to avoid troughs in the middle of the filled region.
TODO: remove small stitches. TrueSizer uses a 0.5mm threshhold.
TODO: implement melco jump-stitch, so jumps don't put holes in the fabric.
done: sort compound paths biggest-area first, to at least get holes right.
BUGS: shapely thinks all compound paths are holes; it doesn't understand the even-odd rule.
BUGS: Can't handle the "transform=" property that inkscape loves to glue onto <g>roups. To work around this, ungroup all the way down to separate <path>s, # which applies all the transforms down to the path point level, then regroup as desired.
TODO: Call into Inkscape to do this behind the scenes.
TODO: Call into Inkscape to convert objects to paths automatically.